Step 3 - Transfer The Image

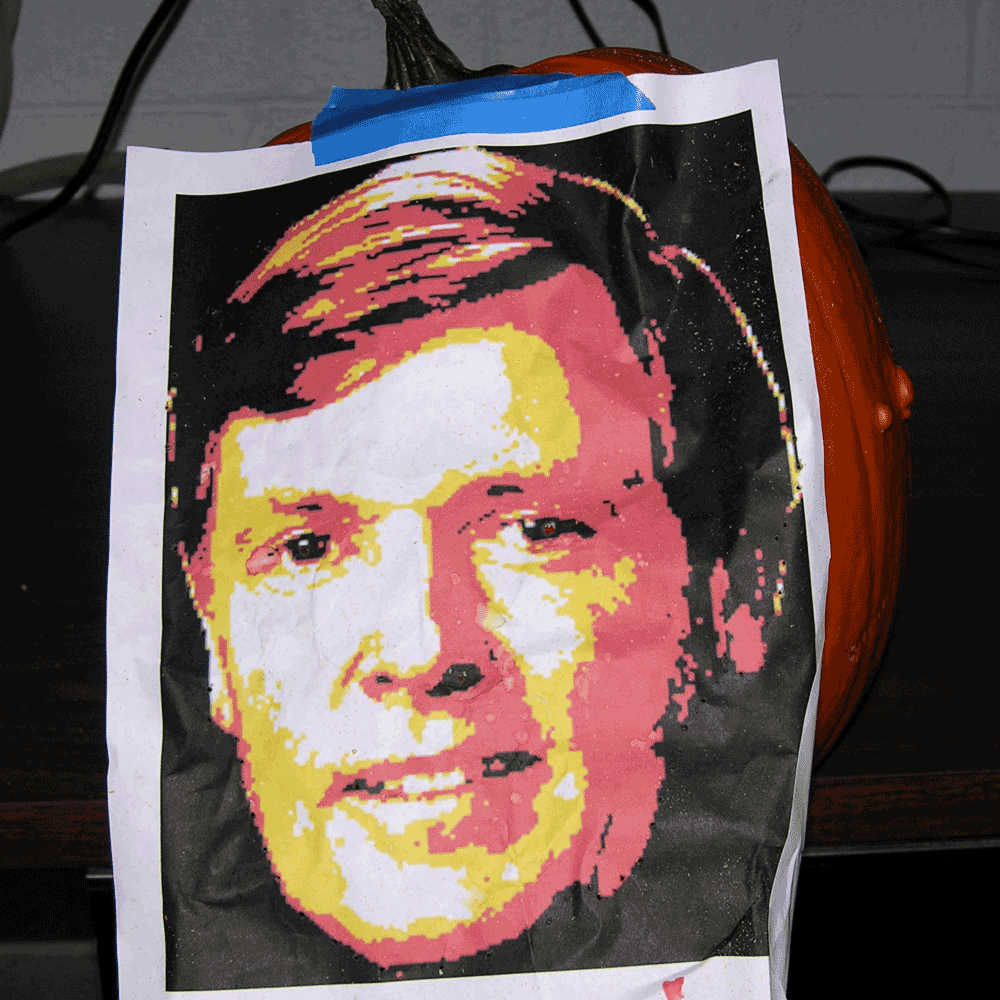
Print the image that you created in Photoshop. Tape it to the front of the pumpkin.
You can now begin to transfer the image to the pumpkin. Do this by poking a nail through the paper all along the borders between one color and the next.
If you have trouble connecting the dots, try using dry-erase markers to distinguish the different zones. Also, you'll have a little trouble because the paper is flat and the pumpkin is round. The paper will wrinkle and it will be difficult to keep the areas straight. Do your best.
